
You do not need a paid test shoot to build a modeling portfolio. You need a plan, decent light, a few clean outfits, and someone patient enough to hold a camera or a phone for two hours. The images that get beginners signed or booked are rarely the most expensive ones on the page — they are the clearest. A booker wants to see your face, your proportions, your movement, and your personality without having to guess. Everything below is meant to get you there using what you already have.
Decide What You Are Actually Selling
A portfolio is not a photo album. It is a set of answers to questions a client or agency is already asking: what does this person look like in daylight, how do they move, do they photograph like a real human being, can they take direction without freezing?
Before you shoot anything, write down the kinds of work you would genuinely accept. Commercial lifestyle. Beauty and editorial. Runway-ready. Fitness or athleisure. Swim and lingerie, if that is a lane you want. Then build your first book to mirror two or three of those categories. Ten consistent images that clearly say "this is what I do" will outperform forty random ones from five different afternoons.
Also decide your look for now. One hairstyle, one level of makeup, one general vibe. You can expand later. A beginner book should be recognisable.
The Six Images That Make a Starter Book
This is your first shot list. You can capture all six in two sessions with one person helping.
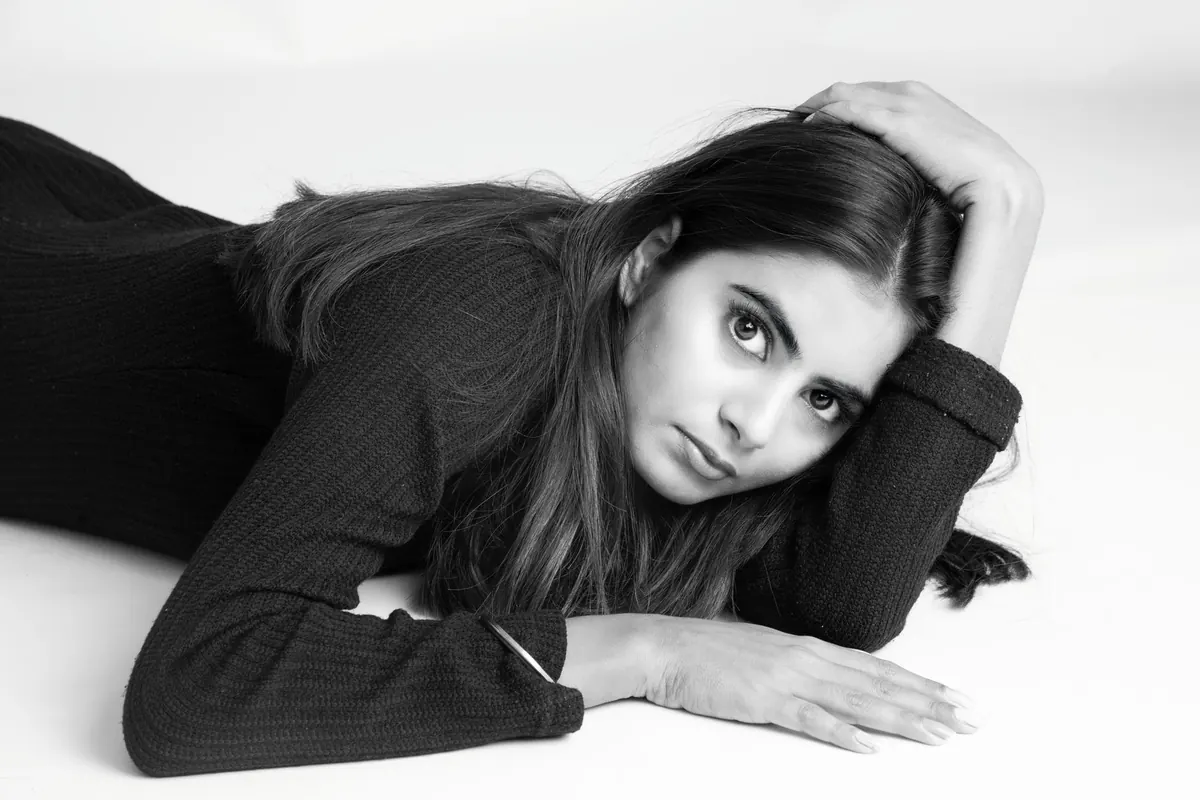
- A clean headshot. Hair down or back, minimal makeup, neutral expression. Face the camera straight on. This is the image an agency will study first.
- A three-quarter and a profile. Same outfit, same light, turned slightly and then fully sideways. Agencies want to read your bone structure.
- A full-length in fitted clothes. Jeans and a plain top. Shoes you can stand in. No baggy layers — they hide the proportions people are paying to see.
- A genuine smile. Not a laugh, not a pout. Something that looks like you just heard good news.
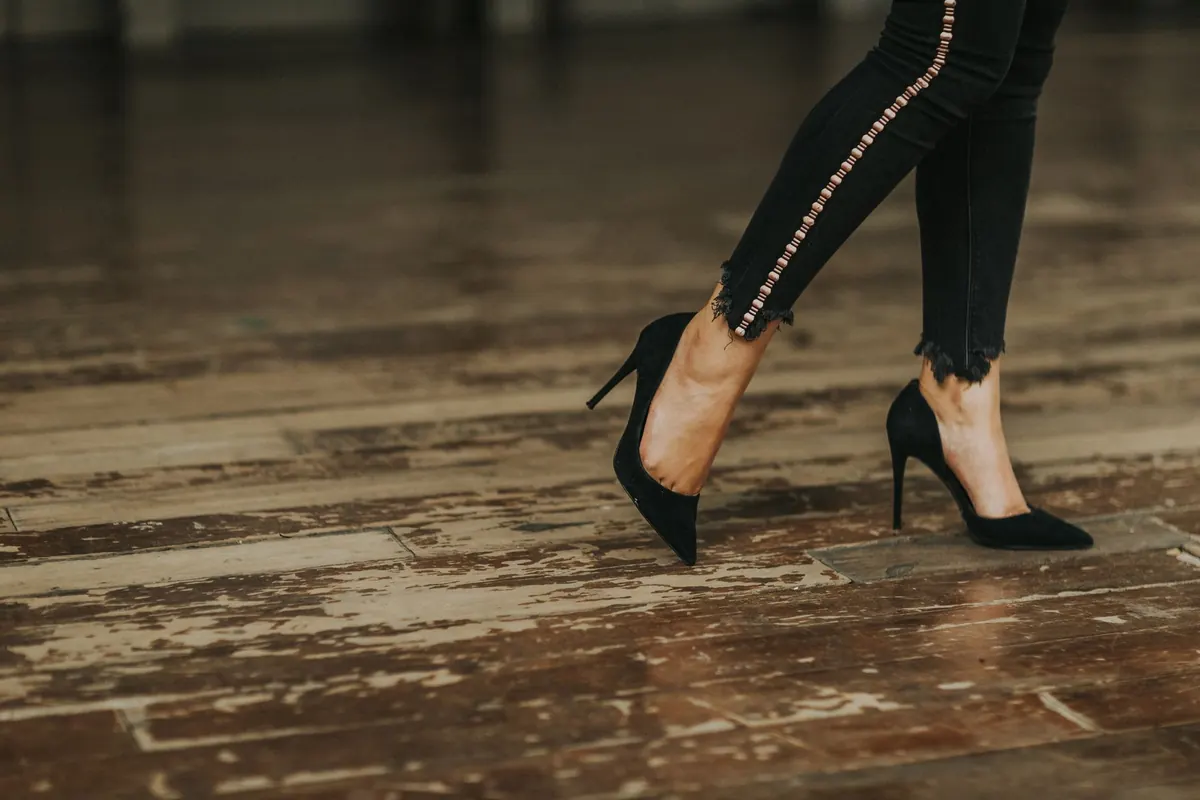
- A movement shot. Walking, turning, mid-step. Slightly blurred limbs are fine. Stiffness is the thing to avoid.
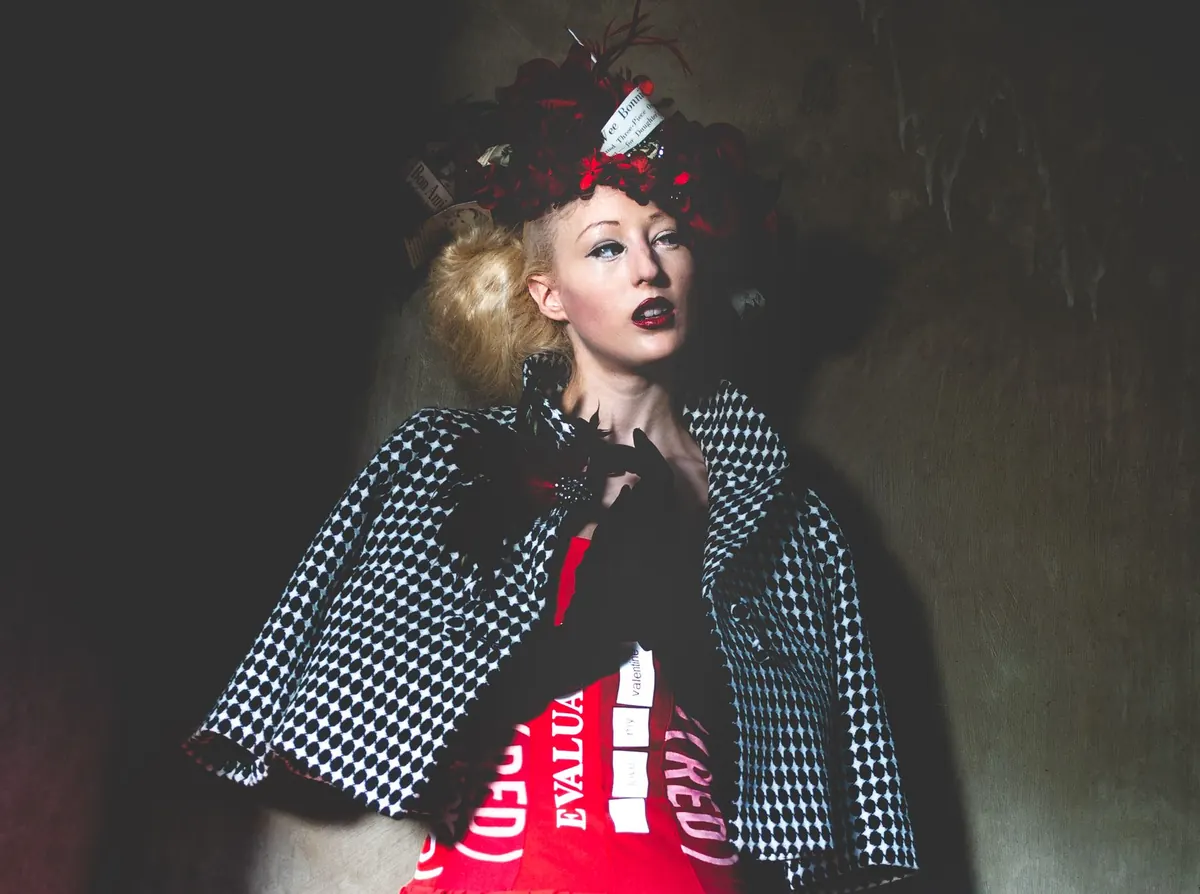
- One styled image. Your most creative frame: a strong colour, an interesting location, a jacket with shape. This one shows taste, not just face.
Six strong images beat twenty mediocre ones. If you only get three good frames from your first shoot, that is normal. Add the rest next time.
Natural Light Is a Free Studio
You do not need strobes. You need to know where the sun is and how to stand in relation to it.
Three setups that almost always work
- Open shade. Stand under an awning, a tree, or beside a building that blocks direct sun. The light is soft, even, and flattering for faces.
- Window light. Indoors, face a large window with the camera between you and the glass. Turn off the ceiling lights. This is the cheapest beauty lighting in the world.
- Golden hour. The hour after sunrise or before sunset. Warm, low, directional. Shoot into it slightly for a soft edge, or turn so it falls across your face from one side.
Avoid midday sun directly overhead — it carves shadows under the eyes and nose. Avoid turning on your phone's flash; it flattens everything and looks cheap. If you can beg or borrow a sheet of white foam board, use it opposite the light source to bounce a little fill back into the shadow side of your face. That single trick makes a phone photo look considered.
Pick backgrounds with clean lines. A painted wall, a plain staircase, an empty street early in the morning. Clutter pulls attention off you.
Styling Out of Your Own Wardrobe
Most beginners overdress the shoot and underprepare the clothes. Keep it simple and ironed. Solid colours photograph better than busy prints. Fitted beats oversized, at least for your first book.
Build a small kit and take it everywhere:
- Well-fitting jeans and plain black or white tops, in a couple of necklines.
- One blazer or structured jacket, one simple dress or shirt, one pair of shoes you can walk in for an hour.
- Safety pins, hair ties, a lint roller, and a steamer or iron if you have one.
Skip logos, slogans, and anything heavily trend-driven — those images date in six months. Keep makeup close to your natural face and bring blotting papers rather than more powder. If your hair does something you like, remember exactly what you did so you can repeat it.
Who Holds the Camera
A friend with a recent phone and a steady hand can produce everything on the shot list above. What matters is that they follow instructions and do not chat through the whole session.
Before you shoot, send them the list and three or four reference images you saved for mood and framing. Ask for focus on the eyes, correct exposure, and no cropping through your ankles, wrists, or the top of your head. Show them the difference between a full-length and a three-quarter crop so you are speaking the same language.
If nobody is available, use a tripod, a self-timer, and a remote shutter. It is slower, but it works, and it teaches you to see your own angles. One honest warning: choose a friend who makes you feel relaxed, not one who makes you self-conscious. An awkward photographer shows up in every frame.
Editing and Choosing: The Hard Part
Selecting is harder than shooting. Do it in two passes. First, cut ruthlessly to about fifteen images. Wait a day. Then cut to six or eight. Delete anything with an unflattering expression, visible tension in the hands, or a messy background, even if the pose was clever.
Edit lightly. Remove temporary things — a spot, a stray hair, a bin in the corner — and leave your actual features alone. Smoothing skin into plastic is the fastest way to look like an amateur. Aim for consistent colour across the whole set so the book reads as one project rather than a pile of separate days. Keep your unedited originals in a folder; you will want them later.
Keep It Moving
Give yourself four weeks. Week one: choose your categories and build a mood board. Week two: one indoor session by a window, three looks. Week three: one outdoor session in open shade or at golden hour. Week four: edit, select, and assemble a simple portfolio — a PDF with your name and contact details, or a clean page you can send in one message. No heavy filters, no borders, no music.
Then repeat. Replace your weakest image every month or two, and add real work as it comes. Your first portfolio is not a monument; it is a working document. When you finally do get paid jobs in front of a camera, those images will slot in beside your friend's window-light shots and nobody will ask which cost money.
Photo: Anil Sharma / Pexels